Are you frustrated by leather paint that peels or dye jobs that look uneven?
You might already know that skipping the surface prep is a recipe for disaster…
But how do you actually prepare the surface for a flawless, long-lasting finish?
Well, you\’re in for a treat. I\’ve put together the ultimate guide on using leather prep solution for better adhesion.
Whether you are restoring vintage furniture, fixing faded car seats, or customizing sneakers, properly deglazing the surface is what separates a DIY disaster from a professional-grade restoration.
In this post, you\’re going to learn the exact step-by-step process to safely strip factory finishes, remove stubborn body oils, and guarantee your new color bonds perfectly every single time.
Let\’s dive right in.
Why You Can\’t Skip the Leather Preparation Stage
I always see people diving straight into painting their leather projects, only to watch the color peel off a week later. The culprit is almost always poor bond preparation. If you want a professional, permanent result, using a high-quality Leather Prep Solution is absolutely non-negotiable.
The Science of Leather Adhesion
Leather is naturally porous, but that raw material is heavily treated before it ever reaches you. Factories apply tough, sealed topcoats to protect the hide from daily wear and tear. These barrier layers are specifically designed to repel liquids—meaning they will also repel your new dyes and paints. To successfully prepare leather for painting, you have to break down this chemical barrier so the new colorants can actually grip the fibers.
Surface Deglazing: Stripping the Finish
This brings us to surface deglazing. Deglazing is the process of chemically melting away that factory-sealed topcoat.
- Opens the pores: Exposes the raw leather underneath.
- Creates texture: Gives the new dye or paint something to physically bite into.
- Prevents peeling: Ensures your color change isn\’t just floating on a slick surface.
Without a proper leather deglazer and preparer, your repair will fail. It is a mandatory step for any permanent color transformation.
Removing Oils for Perfect Bond Preparation
Beyond the factory finish, you are battling years of invisible contamination. Daily use pushes sweat, dirt, and body oils deep into the material. This is especially severe on heavily handled items like car steering wheels, armrests, and living room recliners.
Removing oils from leather is a critical phase of your leather dye preparation process. Even a microscopic layer of body grease will completely destroy your leather paint adhesion. A thorough prep routine cuts through this deep-seated grime, ensuring your final finish locks in securely and lasts for years.
Traditional Prep vs. Modern Formulations
The Danger of Harsh Chemicals
For years, traditional leather dye preparation heavily relied on harsh chemicals like pure acetone. While these aggressive solvents act as a quick leather finish remover, they come with significant risks. Pure acetone relentlessly strips away essential moisture, irreversibly drying out delicate leather fibers. If you are prepping a damaged area before repairing a leather couch scratch, relying on harsh solvents can make the surrounding hide brittle and prone to cracking, ultimately ruining the structural integrity of the substrate.
Benefits of Acetone-Free Leather Prep
Modern chemistry offers a much smarter approach to bond preparation. Using an acetone-free Leather Prep Solution delivers the perfect balance between effective finish removal and material safety. These advanced formulas handle surface deglazing and removing oils effortlessly, breaking down the factory sealants without compromising the leather\’s natural flexibility.
Why we recommend modern formulations:
- Safe Stripping: Thoroughly breaks down old topcoats and stubborn dirt without chemically burning the hide.
- Fiber Protection: Leaves the internal collagen fibers intact, preventing the leather from stiffening.
- Maximum Adhesion: Creates the exact micro-texture needed to securely prepare leather for painting.
Prep Methods Compared
| Feature | Pure Acetone / Harsh Solvents | Acetone-Free Leather Prep Solution |
|---|---|---|
| Fiber Impact | Causes irreversible drying and brittleness | Protects structural integrity |
| Removing Oils | Aggressive, damages the leather base | Safely lifts embedded body oils |
| Surface Deglazing | Unpredictable stripping | Consistent, controlled finish removal |
| Bond Preparation | High risk of future cracking | Ensures maximum paint and dye adhesion |
Step-by-Step Guide: How to Use Leather Prep Solution for Maximum Adhesion
Proper leather repair preparation steps require a methodical approach to ensure your new dye or paint forms a permanent bond. Here is our straightforward process for getting the best results from your Leather Prep Solution.
Step 1: Initial Cleaning
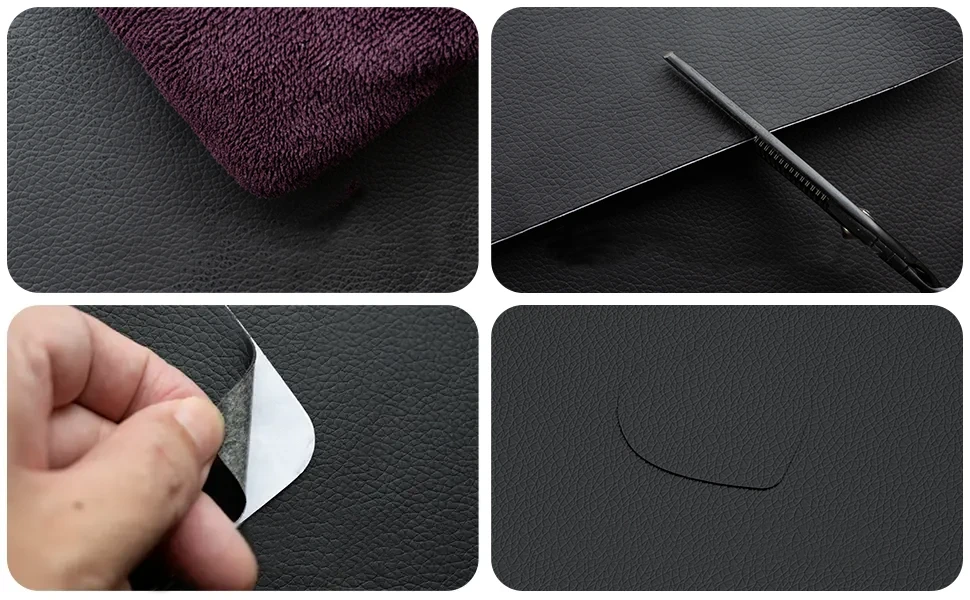
Never apply prep solvents over top of loose dirt. You need to start with a clean canvas. Before moving on to the heavy lifting, I always start by removing surface debris and dust. Using a reliable nontoxic leather cleaner at home is the best way to lift away everyday dirt without leaving harmful chemical residues behind.
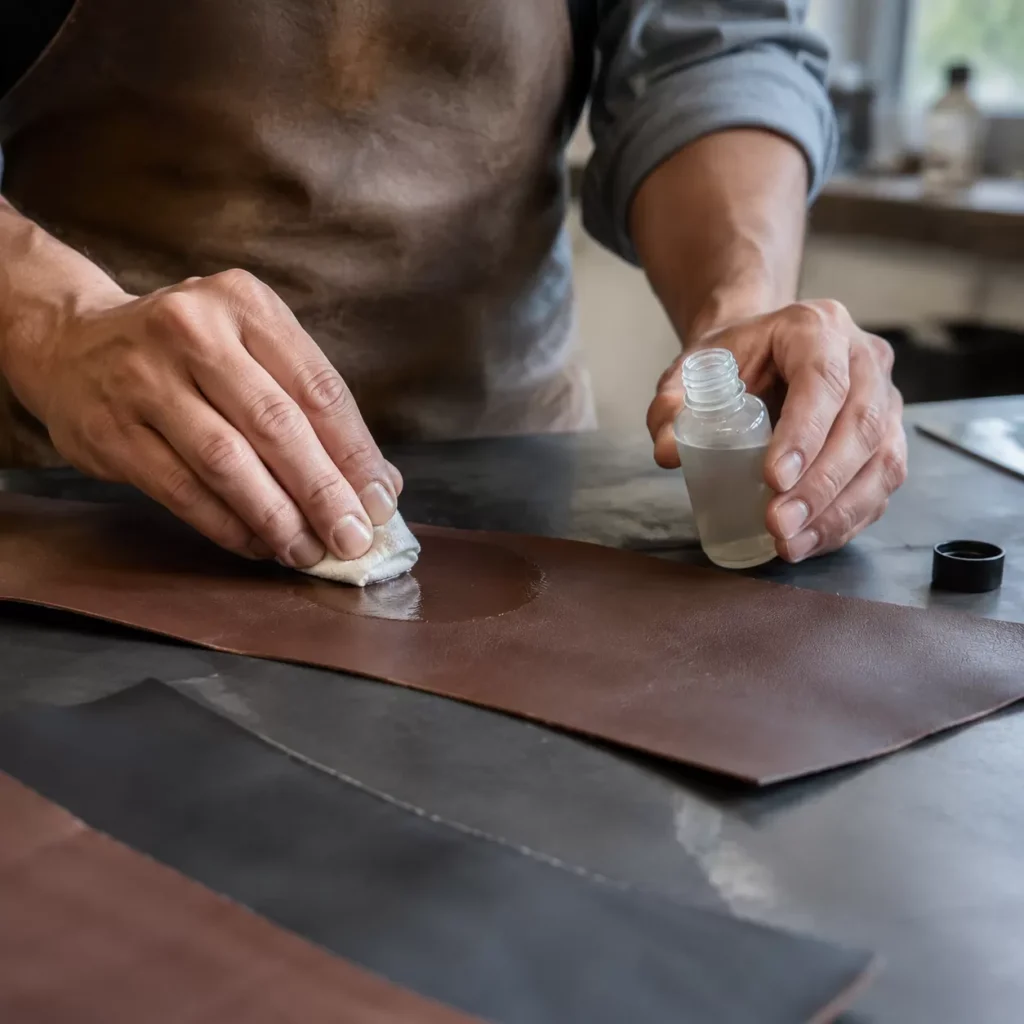
Step 2: Applying the Leather Prep Solution
This step handles the heavy leather surface deglazing. You will need an abrasive scuff pad and a clean, lint-free cloth.
- Work in sections: Don\’t try to prep the entire piece at once.
- Apply the solution: Pour your acetone-free leather prep directly onto the abrasive pad.
- The right pressure: Rub the surface firmly to break down the old topcoat, but avoid scrubbing so hard that you damage the underlying leather fibers.
Step 3: Testing for Readiness
How do you know when your bond preparation is complete? You need to verify that the factory clear coat is fully stripped.
- The Tacky Test: Run your hand over the prepped area. It should feel slightly sticky or grip your fingers.
- The Water Drop Test: Place a single drop of water on the surface. If it absorbs into the leather immediately and darkens the spot, the seal is broken. If it beads up, you need to apply more prep solution.
Step 4: Final Wipe Down and Drying Time
Once the finish is broken down, effectively removing oils from leather and clearing away any broken-down colorant is crucial. Take a clean, dry lint-free cloth and wipe the entire prepped section thoroughly. Leave the leather to air dry completely. Rushing this stage is a common mistake; allowing the surface to dry completely guarantees there is no leftover prep residue, setting you up to massively improve leather paint adhesion in the next stage.
Common Leather Prep Mistakes to Avoid
Even with the best intentions, it is easy to ruin a restoration project by taking shortcuts during the leather repair preparation steps. When using a leather prep solution for better adhesion, avoiding these frequent errors is the difference between a flawless finish and a peeling disaster.
Here are the biggest pitfalls we see people make during bond preparation:
- Over-saturating the leather: Pouring too much solution directly onto the material can soak through the topcoat and damage the underlying fibers. This structural damage weakens the leather, making it prone to tearing. Always apply the solution to your cloth or abrasive pad first.
- Using household cleaners: Dish soap or glass cleaners leave behind invisible residues and silicone that actively repel new coatings. You must use dedicated leather bond preparation solutions to ensure the surface is truly ready to accept new dyes.
- Rushing the drying process: Patience is mandatory. Applying new paint over damp leather traps solvent vapors, which is the leading cause of poor adhesion and requires fixing peeling leather paint all over again. Let the surface dry completely.
Once your surface is perfectly clean, stripped, and dry, you can confidently move forward with applying colorants or utilizing proper leather handicraft tools to complete your professional-grade restoration.
Why Professionals Choose Mitcer for Leather Preparation
At Mitcer, we know that successful professional leather restoration depends entirely on the groundwork. As a trusted retailer and wholesale supplier of leather repair products, our commitment to quality ensures you get commercial-grade results every time. Whether you are tackling a full color change or figuring out how to repair leather furniture for a client, using a reliable Mitcer leather prep solution makes all the difference.
We engineered our formulas to solve the biggest challenge in leather bond preparation: balancing aggressive finish removal with substrate safety. You need a product tough enough to strip away old factory clear coats and embedded body oils, yet gentle enough to protect the underlying leather fibers from drying out or cracking.
The Mitcer Advantage
Here is why our prep formulas stand out for surface deglazing and adhesion preparation:
- Optimized Stripping Power: Effectively breaks down stubborn topcoats without destroying the leather grain.
- Safety-First Formulas: Acetone-free options protect sensitive materials and prevent irreversible moisture loss.
- Wholesale Reliability: Consistent, high-quality bulk supply for busy restoration shops.
Prep Solution Performance
| Feature | Benefit for Leather Adhesion |
|---|---|
| Deep Oil Extraction | Removes body oils that block paint and dye penetration. |
| Controlled Finish Breakdown | Creates the perfect microporous surface for new colorants to grip. |
| Fiber Protection | Leaves the structural integrity of the leather 100% intact. |
Using Leather Prep Solution for Better Adhesion is non-negotiable for a permanent fix. Our products give you the exact chemical balance needed to prepare the surface right the first time, ensuring your repairs and color changes lock in permanently without risking the health of the hide.

