Assess the Damage – Know What You\’re Dealing With
Before applying any products, you must determine if you are looking at a superficial scuff or a deep scratch. I always start with a close visual inspection and a tactile test to decide between a simple polish job or a more advanced DIY leather scratch repair.
The Fingernail Test & Visual Inspection
To figure out how to repair scratch in leather shoe surfaces effectively, run your fingernail lightly across the damaged area.
- Smooth Feel: If your nail glides over the mark without catching, it is likely just a surface scuff or a layer of displaced wax.
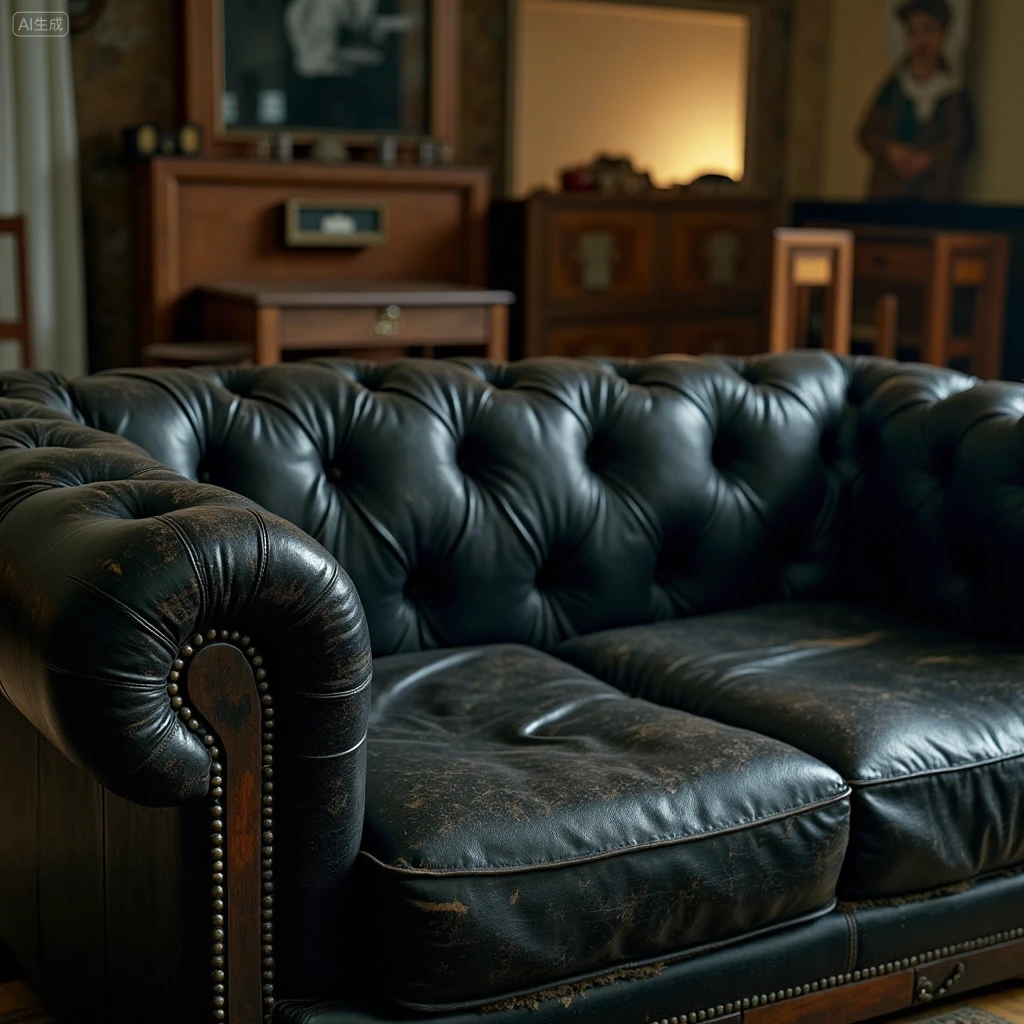
- Rough Catch: If your fingernail \”clicks\” or gets stuck, the leather fibers are cut. This is a deep scratch or gouge that requires a resin-based filler.
Scuffs vs. Deep Scratches vs. Gouges
Understanding the severity helps you choose the right leather shoe scuff removal method. Here is a quick breakdown of the damage types and the specific Saphir solution required:
| Damage Type | Characteristics | Recommended Solution |
|---|---|---|
| Minor Scuff | Surface discoloration; leather texture is intact. | Saphir Médaille d\’Or Pommadier Cream Polish (restores pigment and hydrates). |
| Deep Scratch | Leather fibers are severed; white/grey raw leather is visible. | Saphir Renovating Repair Cream (resin-based filler to rebuild surface). |
| Deep Gouge | A flap of leather is loose, or a chunk is missing. | Saphir Renovating Repair Cream (applied in layers to fill the void). |
Deciding Between DIY and Professional Help
Most damage, even a deep gouge in leather boots, can be permanently fixed at home using the right professional-grade ingredients.
- DIY is Best For: Scuffs, scratches, and gouges where the structural integrity of the shoe is still sound. Using a resin-based product like Saphir Renovating Repair Cream ensures the repair is permanent and won\’t rub off on your clothing.
- Call a Pro When: The leather is torn through to the lining, or the stitching has come undone.
Pro Tip: If you are dealing with a deep scratch, do not just pile on wax polish. It won\’t fill the gap. You need a resin formula that acts as \”liquid leather\” to physically rebuild the surface.
Tools and Materials You\’ll Need
To successfully figure out how to repair scratch in leather sho surfaces, you need the right arsenal. We avoid cheap silicone products that just mask the issue; instead, we focus on resin-based solutions that permanently rebuild the finish.
Here is the essential checklist for a professional-grade repair:
- Resin-Based Repair Cream: This is non-negotiable for deep scratches. Products like Saphir Renovating Repair Cream use a resin formula that fills gouges and dries permanently so it never rubs off on clothing.
- Pigmented Cream Polish: You need a high-quality cream, such as Saphir Pommadier, to saturate the color and blend the repaired area with the rest of the shoe.
- Prep & Cleaning Agents: A strong cleaner (like Reno\’Mat) is required to strip old wax layers, followed by a mink-oil based conditioner to hydrate the leather.
- Application Tools: You will need fine-grade sandpaper to smooth rough edges and a cotton chamois for buffing. For those building a dedicated repair station, an 11 set Micter leather craft tools kit provides excellent versatility for handling detailed leather work.
- Micter Leather Repair Patches: For a modern, instant fix on larger tears where cream isn\’t enough, these patches are a lifesaver—simply apply the patch, and the leather is as good as new.
Gathering these specific materials ensures you are actually restoring the leather\’s integrity rather than just temporarily hiding the damage.
Step-by-Step Repair Methods for Minor Surface Scuffs
When learning how to repair scratch in leather shoe surfaces, it is vital to understand that minor marks are often just abrasions to the wax or pigment layer, not the leather skin itself. To fix scuffed leather shoes effectively, we avoid aggressive sanding and focus on cleaning, hydration, and pigment saturation using professional-grade products.
Cleaning and Surface Prep
Before attempting any DIY leather scratch repair, the area must be immaculate. We use a strong cleaner, such as Saphir Reno\’Mat, to strip away old wax, silicones, and dirt. This step is non-negotiable; applying repair creams over dirty wax prevents proper absorption and leads to a patchy finish.
Conditioning and Polishing
Once the leather is stripped and clean, we proceed with the following steps to restore scratched leather footwear:
- Hydrate: Apply a mink-oil-based conditioner (like Saphir Renovateur) to nourish the dried-out fibers within the scuff. This \”liquid gold\” ensures the leather remains supple.
- Recolor: Use a pigmented cream polish, such as Saphir Pommadier. Unlike hard waxes, cream polishes contain high concentrations of pigment that saturate the scuffed area, effectively hiding the blemish while acting as a leather conditioner for scratches.
- Massage: Work the cream into the scuff using a cotton chamois or your finger to ensure deep penetration.
Buffing to a Shine
After allowing the cream to dry (approx. 3-5 minutes), use a horsehair brush to briskly buff out shoe scratches. This friction generates a gentle heat that sets the waxes and creates a uniform shine. While a cream polish handles superficial marks, if you encounter a defect that has actually cut into the hide, you may need a resin-based leather repair gel or renovating cream to physically fill the void before polishing.
How to Fix Deeper Scratches and Gouges
When dealing with a deep gouge in leather boots or dress shoes, a simple polish won\’t be enough. You need to reconstruct the surface to restore the shoe\’s integrity. Here is how I handle significant damage to ensure a permanent repair.
Preparing the Leather Surface
Before applying any product, I ensure the area is smooth. Deep scratches often leave loose flaps of leather or rough edges. I use very fine-grade sandpaper to gently smooth the area or carefully trim loose fibers. This step is crucial because the repair medium needs a flat, stable base to adhere to; otherwise, the finish will look uneven.
Applying Leather Filler
For deep indentations, I use a resin-based filler like Saphir Renovating Repair Cream. Unlike standard polish, this resin fills the void and rebuilds the leather structure.
- Application: I take a small amount on my finger and massage it deeply into the scratch.
- Drying: It must dry completely. Once cured, this resin is permanent and will never rub off on clothing or upholstery.
Using a Leather Repair Patch
If the damage is too wide for filler or affects the shoe\’s structural integrity, a modern quick-fix is often necessary. I recommend using a self-adhesive leather patch for these situations. It provides an instant, durable layer that covers the damage seamlessly, making the leather look as good as new without the drying time of resins.
Color Matching and Conditioning
Whether using a filler or a patch, matching the color is vital for an invisible repair. Repair creams come in over 15 shades, so I often mix them to get the exact tone. For patches, select the closest match to your shoe\’s original dye. Once the repair is set, I always follow up with a high-quality conditioner to hydrate the surrounding area and blend the textures.
- Tip: If the color isn\’t perfect, you can apply a pigmented cream polish over the dried repair to unify the look.
Finishing Touches and Blending the Repair
Once the repair cream or filler has completely dried, you will notice the treated area often has a matte finish that stands out against the surrounding leather. To recolor scratched leather shoes and unify the appearance, I rely on a high-pigment cream polish, such as Saphir Médaille d\’Or Pommadier. This step is essential because the resin filler fixes the texture, but the polish restores the depth of color and provides a protective wax layer.
Applying Matching Shoe Cream
I always recommend applying the cream polish using a clean cotton chamois or a soft cloth. Work a small amount of the product into the leather using gentle, circular motions.
- Layering: Apply in thin coats. It is better to build up the color gradually to ensure a perfect color match leather repair.
- Nourishment: Quality creams containing shea butter and beeswax will hydrate the leather, preventing future cracks around the repair site.
Buffing to a Natural Sheen
After allowing the cream to sit for about five minutes to saturate the pores, use a horsehair brush to briskly buff out shoe scratches. The friction from the brushing generates slight heat, which activates the waxes in the polish and produces a soft, elegant shine. For formal footwear, you can finish with a hard wax polish to achieve a high-gloss \”Presidential Shine\” on the toe cap.
Managing Expectations
It is important to remember that while resin-based repairs are permanent and will never rub off on your clothing, the texture might vary slightly from the original hide. If the damage was extensive enough to require a self-adhesive leather patch earlier in the process, your goal here is to blend the edges visually. With proper polishing, the repair becomes invisible to the casual observer, restoring the sophistication of your footwear.
Common Mistakes to Avoid During DIY Leather Scratch Repair
When you are learning how to repair scratch in leather shoe surfaces, patience is your best friend. I have seen plenty of high-quality shoes ruined because someone rushed the process or skipped the basics. Here is what you need to watch out for to ensure a professional finish that lasts.
Skipping the Deep Clean
This is the number one reason repairs fail. You cannot apply a resin-based filler or fresh cream over layers of old wax, dirt, or cheap silicone polishes. Before you try to fix scuffed leather shoes, you must strip the area down completely. If you skip using a strong cleaner—like a dedicated resin remover or Saphir Reno\’Mat—your repair cream will just sit on top of the old residue and eventually peel off. The leather needs to be naked for the bond to hold permanently.
Over-Applying Repair Products
When using a strong pigment or filler, less is more. A common blunder is slathering on thick layers of leather conditioner for scratches or repair cream hoping it covers the damage faster.
- The Risk: Thick layers dry unevenly, look like a plastic patch, and can crack when the shoe flexes.
- The Fix: Apply tiny amounts. Massage the cream into the scratch with your finger. Build it up in thin layers, allowing each to dry completely.
Ignoring Surface Texture
If you have a deep gouge in leather boots, simply filling it isn\’t enough. You often need to smooth out the jagged edges first. If you leave loose leather fibers sticking up, the result will look bumpy and obvious. Using precise 16 set professional leather craft tools allows you to carefully trim away those loose bits or hold fine sandpaper to create a smooth base before you apply any filler.
Choosing the Wrong Color Match
Don\’t guess the shade. Using a dark brown cream on a medium brown shoe will create a permanent dark spot that draws more attention than the original scratch. Since premium repair creams come in over 15 shades, take the time to match it exactly. Always test your product on a hidden area, like the tongue or the inner heel, to ensure the pigments blend naturally with your leather.
Prevention Tips to Keep Leather Shoes Scratch-Free Longer
You have put in the effort to fix scuffed leather shoes, so let\’s make sure they stay looking sharp. Prevention is always easier (and cheaper) than dealing with a deep gouge in leather boots later on. By adopting a few simple habits, you can extend the life of your footwear significantly.
Establish a Regular Care Routine
Leather is skin; without moisture, it dries out and becomes brittle, making it much more susceptible to damage.
- Clean and Condition: Wipe down your shoes after use to remove grit that acts like sandpaper. Apply a quality conditioner monthly to keep the fibers flexible.
- Be Prepared: Part of a good maintenance routine is readiness. I always recommend keeping a vinyl and leather repair kit on hand so you can address tiny imperfections immediately before they spread.
Protective Measures and Storage
How you store your shoes is just as important as how you wear them. To prevent leather shoe scuffs effectively:
- Use Shoe Trees: Insert cedar shoe trees immediately after taking your shoes off. This absorbs moisture and maintains the shape, preventing creases where cracks often start.
- Apply Protective Sprays: A water and stain repellent creates an invisible shield against the elements.
- Proper Storage: Never pile shoes on top of each other. Store them in dust bags or individual boxes to avoid friction damage in your closet.
When to Call a Professional Cobbler
While premium products like Saphir Renovating Repair Cream can permanently resolve deep gouges and scratches using a resin-based formula, there are limits to what can be achieved at home. Knowing when to transition from a DIY fix to expert intervention is critical for preserving the longevity of your footwear.
Identifying Signs of Extensive Structural Damage
If the damage extends beyond the surface aesthetics into the actual construction of the shoe, a resin filler is no longer sufficient. Structural issues require specialized skills to ensure the shoe remains wearable and durable. Even if you are equipped with a 16-piece professional leather sewing set, complex stitching repairs or tears that penetrate through to the lining should be handled by a master cobbler.
Indicators that you need a professional:
- Through-Leather Tears: The scratch or cut goes completely through the leather hide.
- Stitching Failures: The damage has compromised the seams or the welt.
- Sole Detachment: The trauma to the shoe has affected the sole bond.
Benefits of Professional Repair for High-Value Footwear
For high-end dress shoes, a professional cobbler offers a level of restoration that complements your home care routine. They have the tools to fully strip old waxes and silicones—going beyond a standard Saphir Reno\’Mat cleaning—and can expertly blend custom colors if standard Saphir Médaille d\’Or Pommadier shades do not perfectly match. Entrusting deep structural repairs to a pro ensures that the \”liquid gold\” conditioning of Saphir Renovateur continues to be effective and that your shoes maintain their unparalleled elegance without risking permanent disfiguration.
Frequently Asked Questions
Can you repair deep scratches in leather shoes at home?
Yes, you absolutely can handle DIY leather scratch repair at home without visiting a cobbler. For a deep gouge in leather boots or dress shoes, the secret is using a resin-based filling cream. Unlike standard polish which just colors the surface, a resin-based repair cream physically fills the void and rebuilds the leather structure. Once it dries, it creates a permanent bond that won\’t rub off on your trousers or upholstery.
What household items fix leather scuffs?
While you might hear about using petroleum jelly or vinegar as a home remedy for leather damage, I strongly advise sticking to products with professional-grade ingredients. High-quality polishes containing all-natural beeswax, mink oil, and shea butter provide the best results to fix scuffed leather shoes. These ingredients nourish the leather rather than just coating it, whereas cheap silicone-based products can clog pores and dry out the material over time.
How do I match color when repairing leather shoes?
To effectively recolor scratched leather shoes, you need a repair cream that closely mimics your shoe\’s original shade. Premium repair creams often come in over 15 different colors. If you cannot find an exact match, you can mix different shades of resin cream to create a custom color. For the final blending, apply a pigmented cream polish over the repaired area; this helps color match leather repair work seamlessly with the rest of the shoe.
Are leather repair patches permanent?
For extensive surface damage where a filler cream might not suffice, a high-quality leather repair patch offers a durable solution. However, if you are using a resin-based renovating cream for scratches, that repair is also considered permanent. The resin formula is designed to withstand flexing and wear, ensuring a permanent leather scratch fix that integrates fully with the leather surface.
How long do DIY leather shoe repairs last?
When done correctly with the right preparation—stripping old wax and sanding the area—a repair using resin-based cream will last as long as the leather itself. It does not wash away or fade easily. To restore scratched leather footwear for the long haul, follow up your repair with regular maintenance using a mink-oil-based conditioner to keep the leather hydrated and flexible.

