Most leather repairs fail for one simple reason: the bond wasn\’t built to last.
Whether you’re restoring a luxury handbag or high-traffic automotive upholstery, \”good enough\” glue is a recipe for peeling and frustration. I’ve spent years in the restoration industry analyzing why some repairs disappear while others fail in days.
In this guide, I’m sharing the exact process for Testing Leather Repair Glue for Superior Adhesion to ensure your work achieves professional-grade structural integrity. We’ll break down the science of tensile strength, the role of leather grain porosity, and why Mitcer has become the industry-standard bonding agent for permanent results.
Ready to stop guessing and start bonding?
Let’s dive in.
The Chemistry of Leather Repair Glue
Understanding the science behind a bonding agent is the first step toward a permanent fix. When I evaluate a Leather Repair Glue, I look for how the polymers interact with the protein fibers of the hide. A superior bond isn\’t just a surface-level stick; it’s a deep chemical anchor that ensures structural integrity under stress.
Contact Cements vs. Structural Adhesives
Choosing the right formula depends entirely on the type of damage you are addressing.
- Contact Cements: These are my go-to for peeling repair and large surface laminations. You apply it to both substrates, wait for it to become tacky, and bond them instantly. It offers immediate grab but less \”re-positionability.\”
- Structural Adhesives: Often formulated as a polyurethane adhesive, these are designed for high-stress areas. They seep into the leather fibers to create a high tensile strength bridge that can outperform the leather itself.
Water-Based vs. Solvent-Based Formulas
The carrier liquid in your glue dictates the curing environment and the final feel of the repair.
- Solvent-Based Glue: These offer aggressive \”bite.\” They evaporate quickly and are ideal for oily leathers or heavy-duty upholstery restoration where a fast set-time is non-negotiable.
- Water-Based Formulas: These are the modern standard for luxury goods. They provide excellent flexural endurance, remain clear when dry, and don\’t emit harsh fumes, making them perfect for indoor seating and handbags.
Leather Grain Porosity and Adhesion
Leather is a biological material, and its surface energy varies wildly across different cuts.
- Full-Grain Porosity: High-quality leathers have open pores that drink in the adhesive, creating a massive surface area for the bond.
- Finished/Pigmented Leather: These have a sealed topcoat. Without proper prep, the glue sits on top of the paint rather than the leather, leading to cohesive failure.
- Fiber Density: The \”flesh\” side of the leather provides more mechanical grip than the smooth \”grain\” side. I always account for this density when calculating the required adhesion strength.
4 Ways to Test Leather Repair Glue for Superior Adhesion
I never rely on guesswork when it comes to structural integrity. To ensure a professional finish, I put every bonding agent through a series of rigorous evaluations. Testing leather repair glue for superior adhesion is the only way to guarantee that a peeling repair won\’t fail after a week of use.
1. The Peel Test for Bond Strength
This is the ultimate measure of tensile strength. I apply the glue to two strips of leather, let them cure fully, and then attempt to pull them apart at a 180-degree angle.
- Success: The leather fibers themselves begin to tear (cohesive failure).
- Failure: The glue simply slides off the surface (adhesive failure).
2. Flexibility and Fatigue Testing for Seating
Leather is a dynamic material, especially in high-traffic areas. For items like sofas or when you need to repair a ripped leather car seat, the glue must offer high flexural endurance. I fold the bonded sample back and forth 500 times. If the bond cracks or becomes brittle, it’s not fit for upholstery restoration.
3. Heat and Humidity Resistance Checks
I simulate real-world environments by placing the bonded leather in a high-heat setting, such as a car interior in summer.
- Heat Test: Ensure the adhesive doesn\’t turn \”gummy\” or lose its grip at 120°F+.
- Humidity Test: Check that moisture doesn\’t cause the bond to swell or delaminate.
- Stability: A quality polyurethane adhesive should remain stable regardless of the climate.
4. The Zero-Residue Cleanliness Check
A superior glue shouldn\’t just hold; it should be invisible. I check for \”ghosting\” or bleed-through on the grain side of the leather.
- Visual Inspection: No darkening of the surrounding leather.
- Tactile Check: The repaired area should feel as soft as the original material, not like a hard plastic scab.
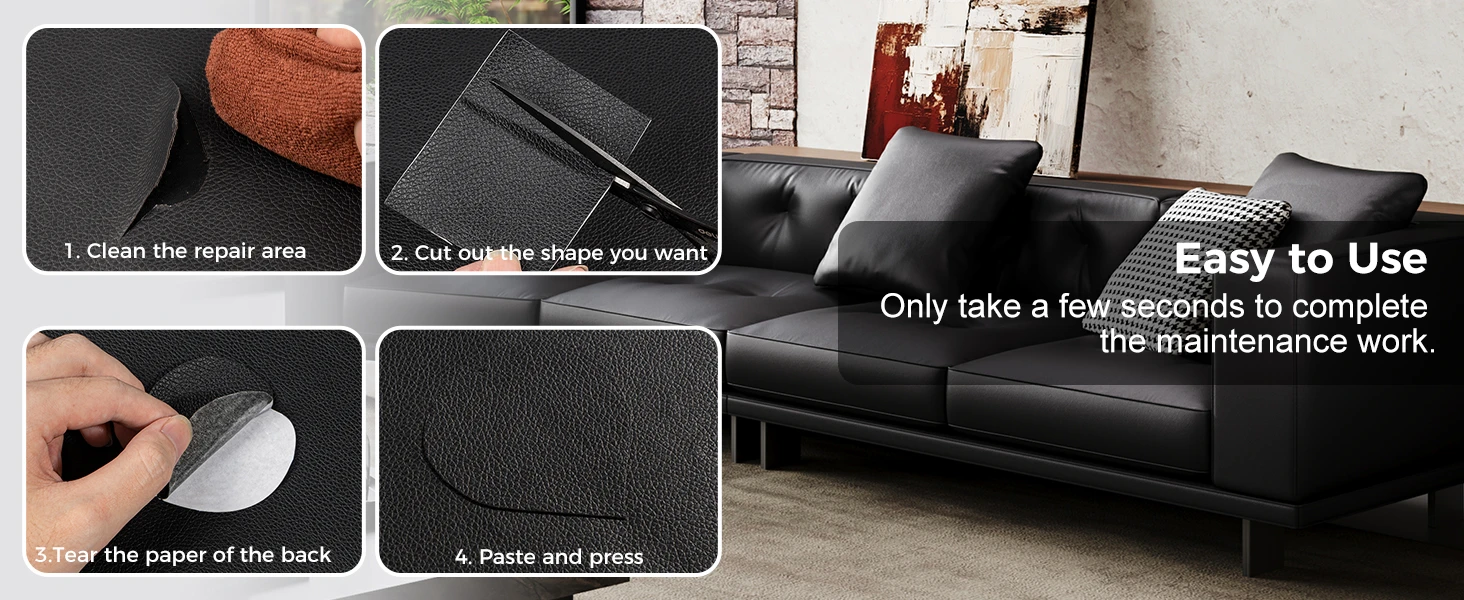
- Surface Finish: The glue must accept leather dyes or topcoats without repelling them, which is critical when using a self-adhesive leather patch for quick fixes.
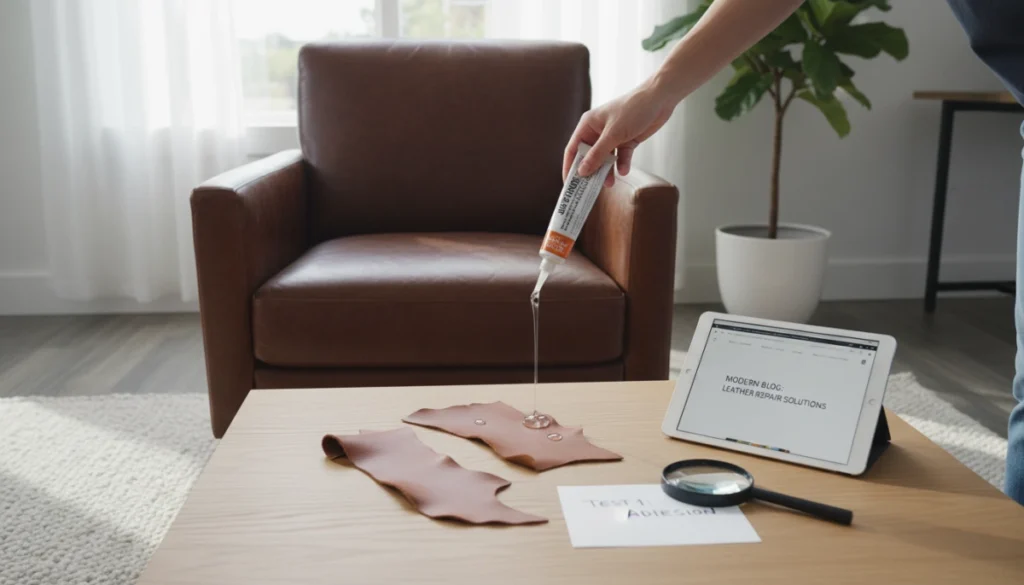
How to Run Your Own Adhesion Stress Test for Leather Repair Glue
To ensure a repair lasts, I always perform a controlled stress test before committing to a high-value project. Testing leather repair glue for superior adhesion requires a systematic approach to see how the bond handles real-world tension.
Preparing Standardized Test Strips
I start by cutting two identical strips of scrap leather from the same hide as the repair. This ensures the grain and oil content match perfectly.
- Clean the surface: Use a mild degreaser to remove oils.
- Overlap: Create a one-inch overlap area for the glue application.
- Clamp: Apply even pressure for the first 30 minutes to ensure the surfaces are locked together.
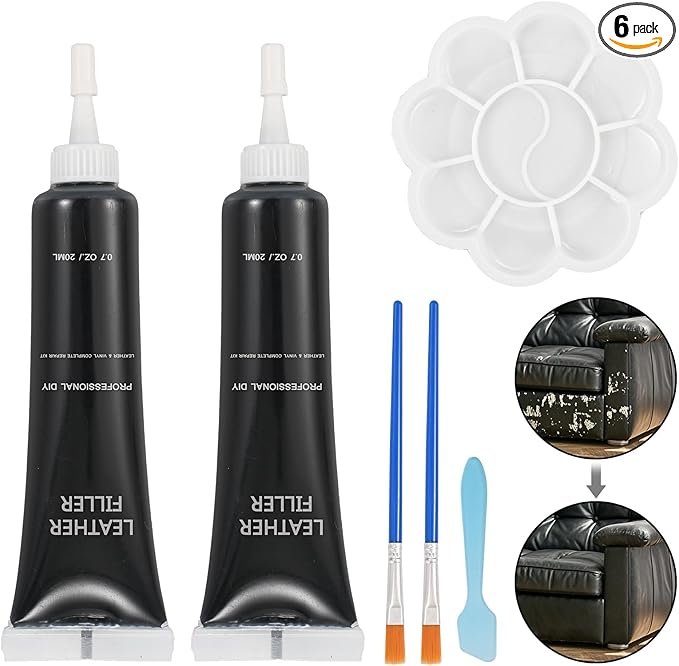
Thin Layers vs. Thick Beads
In my experience, \”more\” is rarely better. A thick bead of glue often creates a brittle \”slug\” that lacks flexibility. I prefer applying a thin, uniform layer to both surfaces. This allows the solvent to evaporate correctly and ensures the adhesive penetrates the leather fibers. For those who prefer a mess-free alternative for surface-level damage, using a self-adhesive leather patch provides an immediate bond without the wait time of liquid formulas.
Why Curing Time Matters for a Permanent Bond
Patience is the most important factor in achieving structural integrity. While many adhesives feel \”tacky\” within minutes, the chemical cross-linking required for a permanent bond usually takes 24 to 48 hours. Testing the bond before the cure is complete will result in premature failure and a false reading of the glue\’s actual strength.
Identifying Cohesive vs. Adhesive Failure
When I finally pull the test strips apart, I analyze the break point to determine the quality of the adhesion strength:
| Failure Type | What It Looks Like | What It Means |
|---|---|---|
| Adhesive Failure | Glue peels cleanly off the leather surface. | Poor surface prep or incompatible glue. |
| Cohesive Failure | The glue layer itself splits in half. | The glue reached its limit, but the bond held. |
| Substrate Failure | The leather fibers themselves tear apart. | Superior Adhesion; the bond is stronger than the leather. |
If the leather fibers rip before the glue lets go, I know the leather repair glue is ready for professional-grade upholstery or handbag restoration.
Surface Prep for Maximum Leather Repair Glue Performance
I’ve seen many repairs fail not because the adhesive was weak, but because the surface wasn\’t ready. If you want superior adhesion, you have to treat the leather properly before the first drop of glue touches it. Proper substrate preparation is the only way to ensure the structural integrity of the bond.
Degreasing and Cleaning Techniques
Leather naturally holds oils, and many upholstery pieces are coated in waxes or silicone-based conditioners. These are total adhesion killers. I always start by stripping these contaminants away.
- Use a dedicated leather degreaser: This removes deep-seated oils that prevent the glue from soaking in.
- Alcohol wipe-down: A quick wipe with isopropyl alcohol removes surface residue and dries quickly, leaving a \”tacky\” surface ready for the bonding agent.
- Avoid soapy water: Residue from dish soap can actually create a film that causes a peeling repair later on.
Mechanical Abrasion and Scuffing
Smooth leather has very low surface energy, meaning the glue just sits on top instead of grabbing hold. To fix this, I use mechanical abrasion to create \”teeth\” for the bond.
- Sand lightly: Use 400 to 600-grit sandpaper to gently scuff the area.
- Open the pores: This process breaks the factory seal and allows the Leather Repair Glue to penetrate the grain.
- Clean the dust: Always vacuum or wipe away the sanding dust before applying any product.
When to Use a Bonding Agent or Primer
On high-stress areas like seat bolsters or armrests, a standard application might not be enough. This is where a primer or a specialized leather repair gel comes into play. These products act as a bridge, chemically linking the leather fibers to the repair compound. Using a primer is essential when dealing with oily leathers or synthetic blends where adhesion strength is usually difficult to achieve. By creating a receptive base layer, you ensure the final repair is flexible, durable, and permanent.
Common Mistakes That Ruin Leather Adhesion
Even the best leather repair glue will fail if you fall into these common traps. I’ve seen many high-end repairs fail not because of the product quality, but because of simple application errors that compromise the structural integrity of the bond.
The \”More is Better\” Glue Myth
One of the biggest mistakes is piling on thick layers of adhesive. In reality, \”more\” usually means a weaker bond.
- Excessive glue creates a gummy layer that never fully cures in the center.
- Thick beads reduce flexural endurance, making the repair stiff and prone to cracking under pressure.
- A thin, uniform coat ensures the best adhesion strength and a seamless, invisible peeling repair.
How Trapped Moisture Ruins the Cure
Leather is naturally porous and holds onto humidity. If you apply glue to damp leather or work in a high-humidity environment, you’re asking for trouble. Trapped moisture prevents the adhesive from evaporating and bonding correctly, leading to a weak, \”cloudy\” bond. Always ensure your substrate is bone-dry before starting. Using the precision applicators found in a professional leather craft tools set helps you control the placement and amount of glue, preventing moisture-trapping globs.
Incompatible Materials and Faux Leather Issues
Not all \”leather\” is created equal. Using a high-solvent glue on certain faux leathers (synthetic PU or PVC) can actually melt the plastic coating or cause the backing to delaminate.
- Chemical Reaction: Some adhesives react poorly with the plasticizers in vinyl.
- Surface Energy: Faux surfaces often require specific primers to achieve a permanent bond.
- Tooling Matters: Utilizing a 21-set of leather handicraft tools ensures you have the right scrapers and burnishers to press out air bubbles and secure the edges properly.
Quick Checklist to Avoid Failure:
- Test first: Always check compatibility on a hidden spot.
- Thin layers: Use a spatula for a paper-thin, even spread.
- Environment: Work in a cool, dry space to ensure a perfect cure.
High-Tensile Bonding Agents for Professional Results
When I handle high-end restoration projects, I never settle for basic adhesives. Professionals prioritize high-tensile bonding agents because they are specifically engineered to handle the constant movement and weight distribution found in luxury items. For those managing high-value goods, using a specialized leather handbag repair kit ensures that the repair matches the original factory\’s structural integrity.
Engineering for Luxury and Auto Upholstery
Luxury leather isn\’t just about looks; it’s about performance. In auto upholstery, the glue must withstand extreme heat cycles and passenger weight without suffering from cohesive failure. High-tensile agents are preferred for several reasons:
- Flexural Endurance: The bond moves with the leather fibers, preventing the repair from cracking under pressure.
- Heat Resistance: Essential for car interiors and handbags that sit in direct sunlight.
- Invisible Finish: These formulas dry clear and thin, leaving no bulky residue on premium leather grains.
| Feature | Standard Craft Glue | High-Tensile Bonding Agent |
|---|---|---|
| Tensile Strength | Low (Peels under tension) | High (Resists heavy pulling) |
| Flexibility | Often Brittle | High Flexural Endurance |
| Durability | Temporary fix | Permanent structural bond |
| Primary Use | Paper/Light Crafts | Auto Upholstery/Luxury Goods |
Wholesale Reliability for Large-Scale Repairs
For large-scale operations, reliability is non-negotiable. When testing leather repair glue for superior adhesion across hundreds of units, consistency is the goal. A professional-grade bonding agent ensures that every repair—from a minor scuff to a major seam—holds up over years of use. This level of reliability reduces costly returns and maintains a reputation for quality in the competitive upholstery restoration market. Using the right chemical formula means the bond becomes a permanent part of the substrate, not just a surface-level patch.
FAQs About Testing Leather Repair Glue for Superior Adhesion
How long should I wait before testing the bond?
Patience is the most important factor in a successful repair. While many adhesives feel dry to the touch in 30 minutes, you must wait a full 24 to 48 hours before putting any stress on the joint. This allows the curing time to complete, ensuring the chemical bond reaches its maximum tensile strength and structural integrity.
Can I use super glue on leather?
I never recommend standard super glue for leather. It dries into a brittle, glass-like state that cannot handle the natural movement of the material. As the leather flexes, the glue will crack, often taking the leather grain with it. For a lasting peeling repair, you need a flexible polyurethane adhesive that moves with the substrate.
What is the strongest glue for leather-to-plastic?
Bonding leather to non-porous surfaces like plastic requires a high-performance contact cement or a specialized bonding agent. These formulas are designed to bridge the gap between different surface energies. Always scuff the plastic first to provide a mechanical \”key\” for the glue to grab onto.
How do I know if my leather is too oily for glue?
If you apply a drop of water and it beads up and rolls off, the leather is likely too oily or has a heavy silicone coating. This prevents the glue from penetrating the leather grain porosity. You will need to use professional leather making tools and a dedicated degreaser to prep the surface, or the adhesive will simply slide off rather than creating a permanent bond.
- Pro Tip: Always test a small, hidden area first to check for discoloration.
- Bonding Check: If the glue peels off in a single clean strip, you have an adhesion failure caused by poor surface prep.
- Flexibility: A good leather glue should remain rubbery and soft even after it is fully cured.

